How to Print a Tattoo Stencil (Thermal & Inkjet)
6 min read
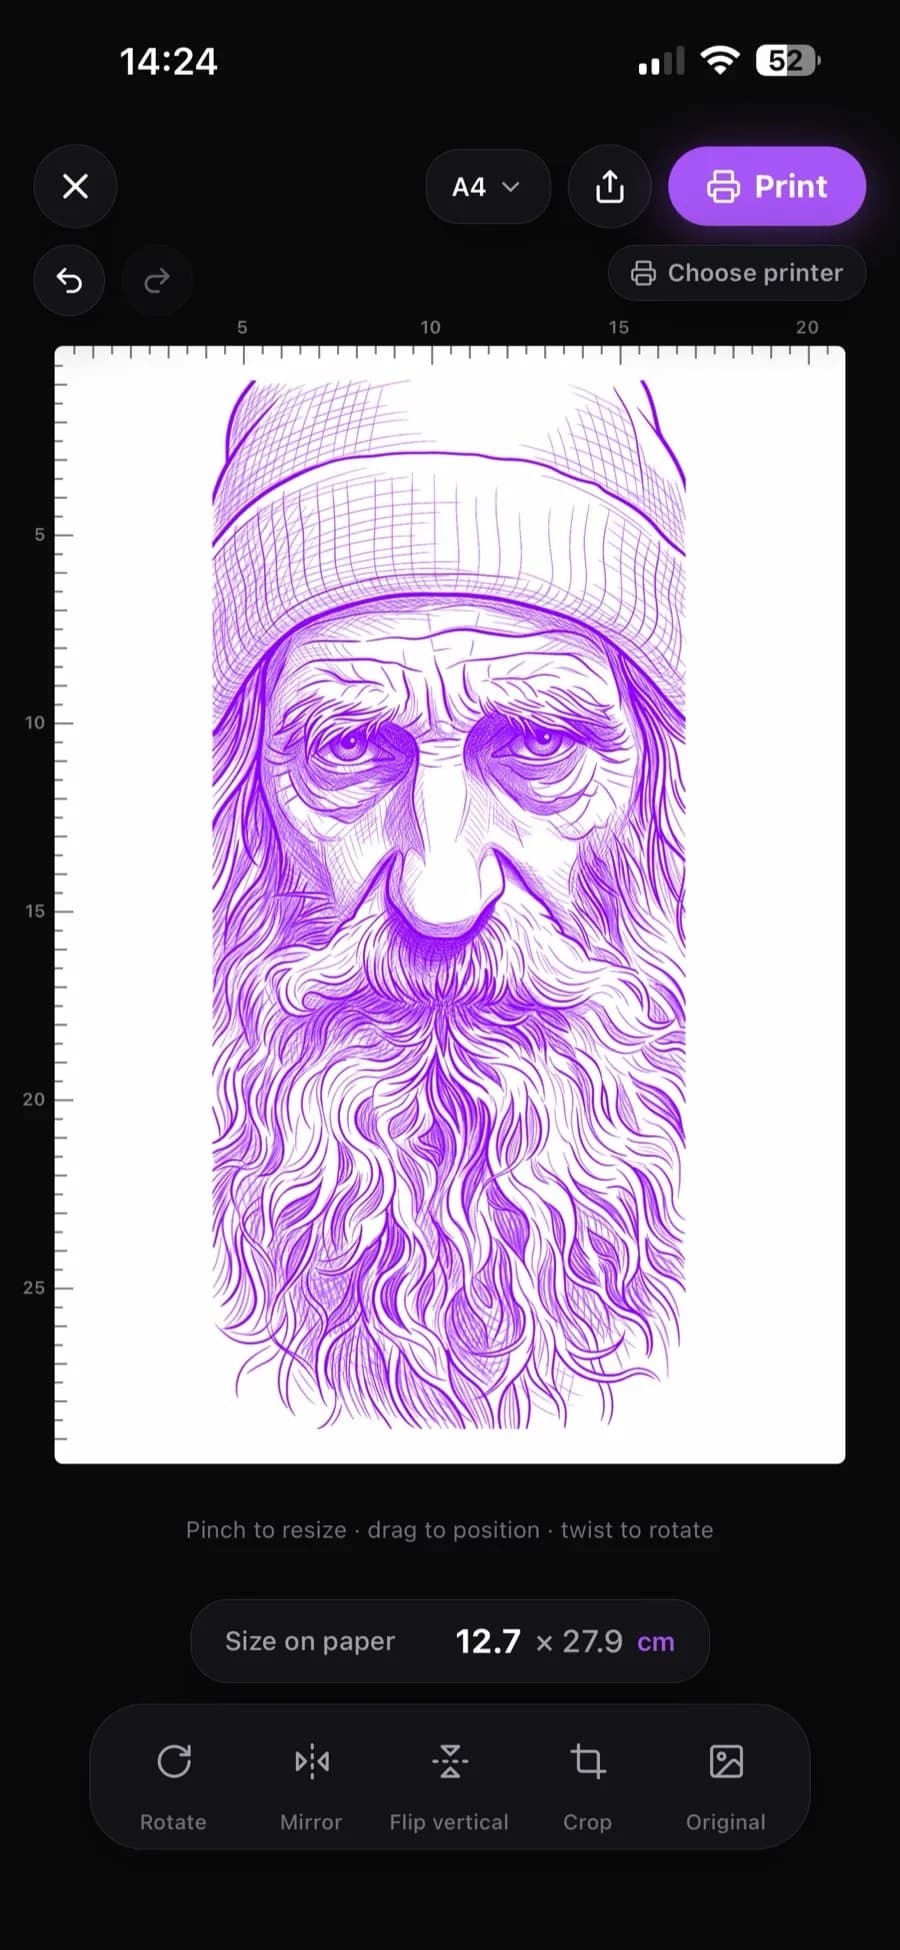
You have a clean digital stencil — now it has to land on transfer paper at the exact size the client approved. This guide covers how to print a tattoo stencil both ways: on a dedicated thermal stencil printer, and on a regular inkjet set up with stencil ink and paper. Plus how to print true to size, and how to fix the most common printing problems.
The two printing routes
There are exactly two reliable ways to print a tattoo stencil at home or in the studio:
- Thermal stencil printer + thermal transfer paper — the studio standard. The printer burns your line art into the purple carbon layer of the transfer sheet.
- Inkjet printer (an Epson EcoTank works great) loaded with inkjet stencil ink and inkjet stencil paper — a budget-friendly route that produces true transfer-ready stencils with gear you may already own.
Both start from the same thing: a high-contrast, tattoo-ready digital stencil. If you don't have one yet, an AI tattoo stencil maker turns any photo or drawing into clean stencil line art in under a minute.
Route 1: Thermal stencil printer
Load thermal transfer paper
Send the stencil at final size
Check the darkness
Pros: purpose-built, consistent, fast. Cons: the printer is an upfront investment, and it only does stencils.
Route 2: Inkjet with stencil ink and paper
A standard inkjet becomes a stencil printer with two swaps: replace the ink with inkjet stencil ink and print onto inkjet stencil paper. Refillable-tank printers like the Epson EcoTank are ideal because the tanks accept stencil ink directly.
Dedicate the printer
Print at 100% scale
Let it dry fully
Pros: cheap entry if you own an inkjet, prints large formats easily. Cons: needs the dedicated ink/paper setup and a little more care with drying.
Printing true to size
A stencil that prints 10% too big is a re-do. The Stencil AI app prints directly at real-world size: set the width in centimeters, position the design on the page, and print — what comes out of the printer matches the measurement on skin exactly. If you print from other software instead, always set scale to 100% and verify the first print with a ruler before transferring.
Recent updates made this print step noticeably smarter. On LiDAR-equipped iPhones, LiDAR measuring lets you point the camera at the body, measure the placement area point to point, and use the result directly as the stencil's print size. A Warp tool bends the stencil to follow shoulders, arms and curves before printing — drag the grid dots until the design matches the body, then print it exactly that way. And multi-stencil printing places several stencils on one sheet, each at its own exact size — every stencil remembers its own print setup, which saves transfer paper on flash days. Once the transfer is on, a fullscreen Tattoo Mode keeps the design on screen during the session with the display awake.
Troubleshooting
- Faint lines: raise the darkness (thermal) or print quality (inkjet), and start from high-contrast line art — gray, sketchy input prints gray and sketchy.
- Wrong size on paper: a "fit to page" or "shrink to printable area" setting is scaling your file. Turn it off and print at 100%.
- Smudged transfer: the print was handled before drying (inkjet) or the skin prep was too wet. Dry prints, thin even transfer solution.
- Broken or patchy lines: the source stencil has thin, low-contrast detail. Regenerate with bolder line settings rather than fighting it at the printer.
Frequently asked questions
Can I print a tattoo stencil with a regular printer?
With a regular inkjet, yes — once it's set up with inkjet stencil ink and inkjet stencil paper. A standard office print on plain paper is not a transferable stencil, and laser printers don't work for this at all.
What paper do I need to print a tattoo stencil?
Thermal transfer paper for thermal stencil printers, or inkjet stencil paper for the inkjet route. They're different products — each only works with its matching printer type.
What size and resolution should the stencil file be?
Export at high resolution (Stencil AI files upscale to 4K) and print at the final tattoo size at 100% scale. Resolution matters most for fine detail — a 4K export holds crisp lines even at large formats.
Can I print a stencil from my phone?
Yes — the Stencil AI app prints straight from your phone to any AirPrint-capable printer, with true-to-size width control built in.
Print your next stencil true to size
Turn any photo into a clean, printer-ready tattoo stencil and print it at the exact size you need.
Try Stencil AI