Tattoo Stencil Paper: The Complete Guide (Types, Sizes & How to Use)
6 min read
If you want a design to land cleanly on skin, the tattoo stencil paper you choose — and how you use it — matters as much as the artwork itself. This guide breaks down the types of stencil paper, the common sizes, and a step-by-step process for a crisp transfer every time. It also covers the part most people skip: you need a clean digital stencil before any paper ever touches your printer.
What is tattoo stencil paper?
Tattoo stencil paper is specialty transfer paper that carries a design from your printer (or your hand) onto the skin. It deposits a thin, ink-like line that survives skin prep and stays visible while you tattoo. There are two broad families: thermal transfer paper made for thermal stencil printers, and hectograph (freehand) paper you trace by hand. Picking the right one depends on whether you print your designs or draw them.
Types of tattoo stencil paper
- Thermal / transfer paper — designed for thermal stencil printers. Heat from the printer bonds the carbon layer to the top sheet, producing the line work. This is the fastest, most consistent option for printed designs.
- Hectograph (freehand) paper — no printer required. You trace your design with a pen or stylus and the pressure transfers the purple hectograph ink. Great for custom line work drawn directly over the paper.
- Carbon (freehand) sheets — older multi-ply carbon sheets traced by hand; largely replaced by thermal paper in modern studios but still used for quick freehand work.
Most thermal tattoo stencil paper is made up of several bonded layers, each with a job:
- Top layer — the white sheet that receives the printed line and gets transferred to skin.
- Second (milky/protective) layer — a thin tissue sheet you remove before printing.
- Third (carbon/ink) layer — the purple carbon that forms the actual stencil line.
- Bottom (backing) layer — the yellow backing sheet that holds the stack together.
Common sizes
Thermal stencil paper is sold to match printer feeds and tattoo layouts. The most common formats are:
- A4 / Letter — the standard for most thermal stencil printers and the easiest to source.
- A5 — handy for small to medium pieces with less waste.
- Pre-cut strips and rolls — for small flash, lettering, or high-volume studios.
Whatever size you buy, match it to your printer and export your digital stencil at high resolution so it fills the sheet without pixelation.
How to use tattoo stencil paper (step by step)
Create a clean digital stencil first
Choose your style and export
Load the thermal paper correctly
Prep the skin
Apply and lift
Tips for a clean transfer
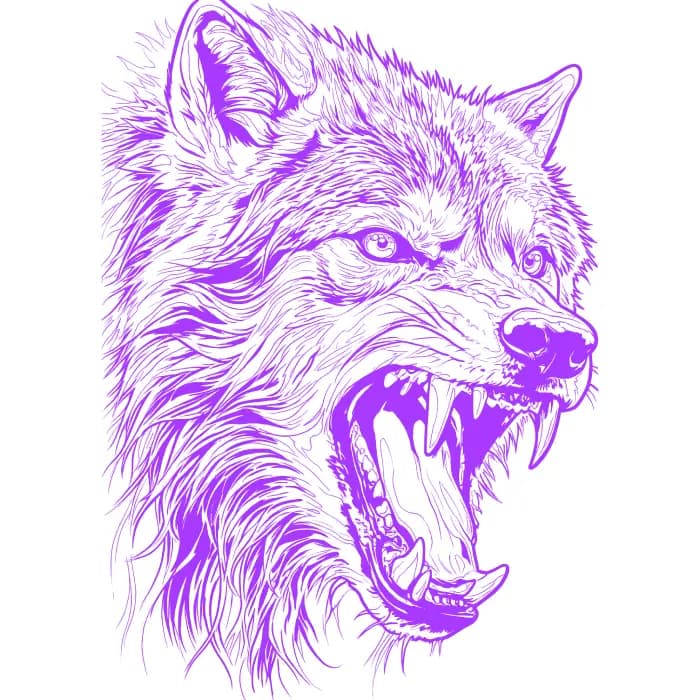
- Start sharp: a blurry digital file prints a blurry stencil — fix the line art before you print.
- Don't over-apply solution — a thin, even coat gives the crispest line.
- Avoid sliding the paper once it touches skin; reposition before contact, not after.
- Let it set — give the stencil time to dry so it doesn't smear under your glove.
Getting started
You can try Stencil AI with a $0.99 starter pack (5 credits that never expire) to see the line quality before committing. For ongoing work, the Hobby, Pro and Studio plans include monthly credits, all stencil styles, 4K upscaling, and full commercial licensing. Use original or public-domain images — copyrighted characters and celebrities won't process.
Print a perfect stencil, every time
Turn any photo into a clean, print-ready tattoo stencil in seconds — then send it straight to your thermal paper.
Try Stencil AI